Displaying the Number of Cores and Current Load average for All Nodes

If you wish to use Ansible to display the number of cores and current Load average for all your nodes, you may want to consider the code below.

- name: Display number of cores
  debug:
    var: ansible_processor_cores

- name: Get Load Average
  ansible.builtin.shell: "cat /proc/loadavg"
  register: load_avg_output
  changed_when: false

- name: Print Load Average for all Nodes
  debug:
    msg: "Load Average: {{ load_avg_output.stdout }}"

Updating /etc/resolv.conf using Ansible for Rocky Linux 8

You may want to check the whether /etc/resolv.conf exists and if not exist, create the file file and update the DNS

- name: Check if resolv.conf file exists
  stat:
      path: /etc/resolv.conf
  register: file_info

- name: Create /etc/resolv.conf if it exists
  file:
     path: /etc/resolv.conf
     state: touch
  when: not file_info.stat.exists

- name: Set DNS nameservers in /etc/resolv.conf
  blockinfile:
      path: /etc/resolv.conf
      block: |
            search example.com
            nameserver x.x.x.x
            nameserver w.w.w.w
  when: ansible_distribution == "Rocky"

Enable PowerTools Repository Using Ansible

If you wish to use Ansible to fix Unable to Install hdf5, hdf5-devel and hdf5-static on Rocky Linux 8.7 by installing DNG-Plugin-Core, EPEL-Release for Rocky Linux, do take a look

 - name: Install DNF-Plugin-Core and EPEL-Release for Rocky
    dnf:
        name: 
           - dnf-plugins-core 
           - epel-release  
        state: latest      
    when: ansible_distribution == "Rocky"

  - name: Enable powertools repository
    command: dnf config-manager --set-enabled powertools
    when: ansible_distribution == "Rocky"
    changed_when: false

Installing and Configuring Chrony with Ansible on Rocky 8

If you are using Ansible to configure chrony which is a versatile implementation of the Network Time Protocol (NTP), you may want to take a look at the simple script below

- hosts: all
  tasks:

  - name: Install Chrony package
    dnf:
        name: chrony
        state: present
    when: ansible_distribution == "Rocky"

  - name: Configure Chrony servers
    lineinfile:
        path: /etc/chrony.conf
        line: "server sg.pool.ntp.org iburst"
        insertafter: '^#.*server 3.centos.pool.ntp.org iburst'
        state: present
    when: ansible_distribution == "Rocky"

  - name: Enable Chrony service
    service:
        name: chronyd
        state: started
        enabled: yes
    when: ansible_distribution == "Rocky"

You may want to consider Block Function to improve the code.

Further Read Up:

  1. Grouping Tasks with Block in Ansible

Use Ansible to Check and Configure Timezone to you area

Support you are staying in Singapore and your time zone is “Asia/Singapore”. How do you check and configure the Timezone?

- hosts: all
  tasks:

  - name: Check current Timezone
    command: timedatectl show --property=Timezone --value
    register: timezone_output
    changed_when: false

  - name: Configure Timezone to Asia/Singapore
    command: timedatectl set-timezone Asia/Singapore
    when: timezone_output.stdout != "Asia/Singapore"

The command module is used to execute the timedatectl command and retrieve the current timezone and registered as timezone_output

The 2nd command is to configure the timedatectl if the timezone_output is not your desired “Asia/Singapore”

Starting Commands for Ansible

Number 1: Preparing Ansible.cfg

ansible.cfg is used to customize the behavior of Ansible and define various settings and options for managing infrastructure and deploying applications. Inside you ansible_cluster. Create an ansible.cfg
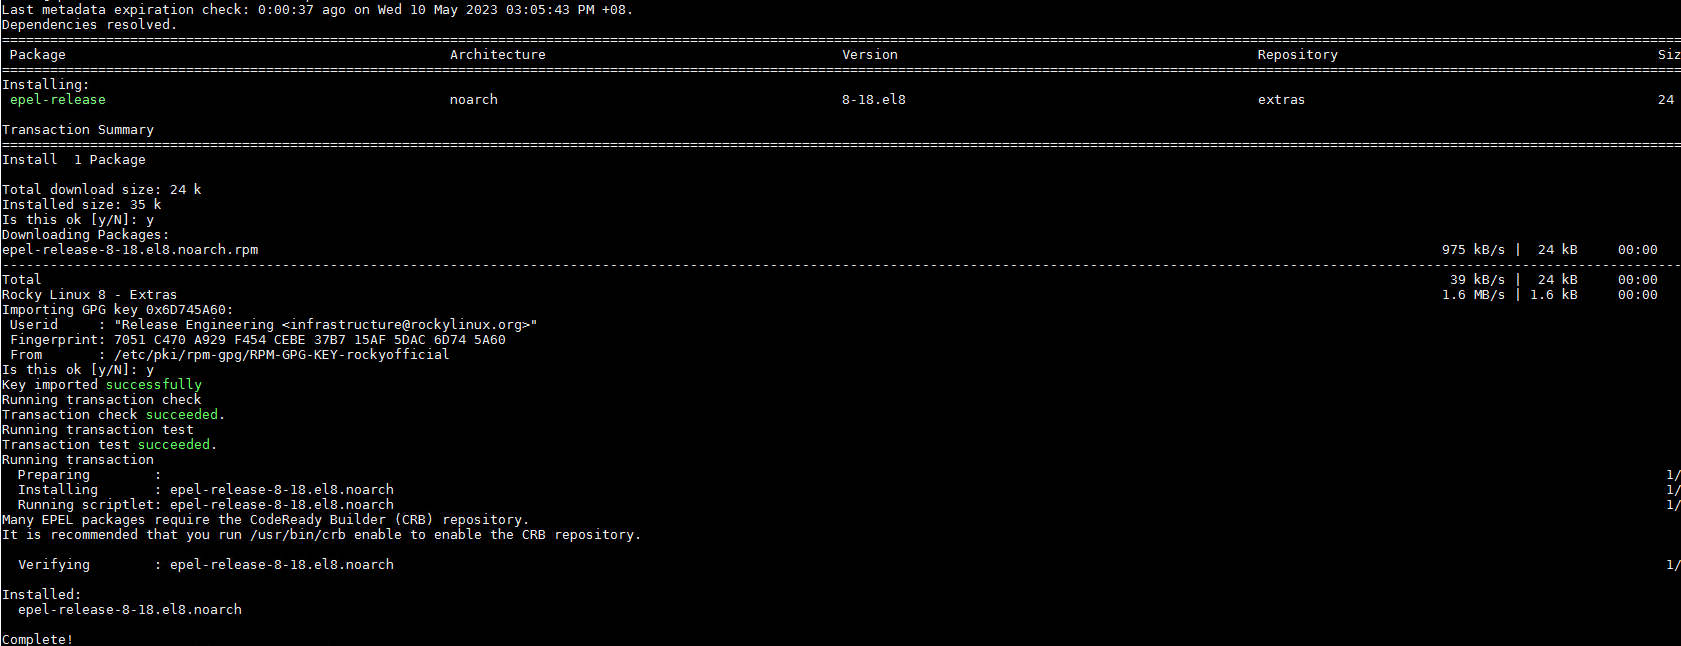
[defaults]
inventory = inventory
private_key_file = ~/.ssh/id_rsa
become = true
become_user = root

Number 2: To Test the Connection with Nodes via SSH

[root@h001 ansible_cluster]# ansible all -m ping
192.168.200.161 | SUCCESS => {
    "ansible_facts": {
        "discovered_interpreter_python": "/usr/libexec/platform-python"
    },
    "changed": false,
    "ping": "pong"
}
192.168.200.160 | SUCCESS => {
    "ansible_facts": {
        "discovered_interpreter_python": "/usr/libexec/platform-python"
    },
    "changed": false,
    "ping": "pong"
}
192.168.200.162 | SUCCESS => {
    "ansible_facts": {
        "discovered_interpreter_python": "/usr/libexec/platform-python"
    },
    "changed": false,
    "ping": "pong"
}
192.168.200.163 | SUCCESS => {
    "ansible_facts": {
        "discovered_interpreter_python": "/usr/libexec/platform-python"
    },
    "changed": false,
    "ping": "pong"
}

Number 3: Listing Hosts

[root@h001 ansible_cluster]# ansible all --list-hosts
  hosts (4):
    192.168.200.160
    192.168.200.161
    192.168.200.162
    192.168.200.163

Number 4: Gather Facts about Hosts

Lots of information regarding the hosts….. If you want to limit to a single hosts, use the parameter “–limit”

[root@h001 ansible_cluster]# ansible all -m gather_facts --limit 192.168.200.161
192.168.200.161 | SUCCESS => {
    "ansible_facts": {
        "ansible_all_ipv4_addresses": [
            "192.168.200.161"
        ],
        "ansible_all_ipv6_addresses": [
            "fe80::5eed:8cff:fe80:aee3"
        ],
        "ansible_apparmor": {
            "status": "disabled"
        },
        "ansible_architecture": "x86_64",
        "ansible_bios_date": "02/02/2023",
        "ansible_bios_vendor": "HPE",
        "ansible_bios_version": "U46",
        "ansible_board_asset_tag": "NA",
        "ansible_board_name": "ProLiant DL360 Gen10 Plus",
...
...
...

Number 4a: Gather Facts about Hosts Distribution

[root@h001 ansible_cluster]# ansible all -m gather_facts --limit 192.168.200.161 |grep distribution
        "ansible_distribution": "Rocky",
        "ansible_distribution_file_parsed": true,
        "ansible_distribution_file_path": "/etc/redhat-release",
        "ansible_distribution_file_variety": "RedHat",
        "ansible_distribution_major_version": "8",
        "ansible_distribution_release": "Green Obsidian",
        "ansible_distribution_version": "8.7",

References:

  1. Learn Linux TV Chapter 4
  2. Ansible Quickstart
  3. Ansible CLI cheatsheet

Setting up Git Repository for Ansible

Install DNF on the Client Side

$ dnf install git
================================================================================
 Package             Architecture  Version               Repository        Size
================================================================================
Upgrading:
 git                 x86_64        2.31.1-3.el8_7        appstream        160 k
 git-core            x86_64        2.31.1-3.el8_7        appstream        4.8 M
 git-core-doc        noarch        2.31.1-3.el8_7        appstream        2.6 M
 perl-Git            noarch        2.31.1-3.el8_7        appstream         77 k

Transaction Summary
================================================================================
Upgrade  4 Packages

Total download size: 7.6 M
Is this ok [y/N]: 

At github.com,

Do sign up for an account if you have not done so. At github.com, create a new Repository and give it a new name. Look at the pix for more information

Once you have created the repository, you should have something like this

At the profile Icon, click settings, you should enter the page where “SSH and GPG Keys” are present

Click the new SSH icon

Type the name of the key (Your Choice) and copy your ssh public keys into the key box. This can be found at ~/.ssh/id_rsa.pub or ~/.ssh/ed25519.pub. Copy the whole string and paste into the key box

Git Clone the Repository URL

Go back to your repository and copy the code

Next

At the Linux Server….

git clone the URL

$ git clone git@github.com:XXXXXXXXXX/ansible_cluster.git             
Cloning into 'ansible_cluster'...
Warning: Permanently added 'github.com,20.205.243.166' (ECDSA) to the list of known hosts.
remote: Enumerating objects: 3, done.
remote: Counting objects: 100% (3/3), done.
remote: Total 3 (delta 0), reused 0 (delta 0), pack-reused 0
Receiving objects: 100% (3/3), done.

At your directory go to the ansible_cluster folder, you should be able to see the README.md file which is same as your git repository.

$ cd ansible_cluster
$ cat README.md
# ansible_cluster

Setting some basic git information like user name and email address

$ git config --global user.name "user1"
$ git config --global user.email "user1@hello.com"
$ cat ~/.gitconfig
[user]
        name = melvin soh
        email = melvin@ntu.edu.sg
[init]
        defaultBranch = main

Pushing and cloning to the git repository

Let’s make some changes to the README.md

$ vim README.md
#ansible_tutorial

Hello

Checking their Status

$ git status
On branch main
Your branch is up to date with 'origin/main'.

Changes not staged for commit:
  (use "git add <file>..." to update what will be committed)
  (use "git restore <file>..." to discard changes in working directory)
        modified:   README.md

no changes added to commit (use "git add" and/or "git commit -a")

Add the changes, coming and pushing the changes to git

$ git add README.md
$ git status
On branch main
Your branch is up to date with 'origin/main'.

Changes to be committed:
  (use "git restore --staged <file>..." to unstage)
        modified:   README.md

$ git commit -m "Updated Readme file on 8/5/2023"
[main 06583ec] Updated Readme file on 8/5/2023
 1 file changed, 3 insertions(+), 1 deletion(-)

$ git push origin main
Enumerating objects: 5, done.
Counting objects: 100% (5/5), done.
Writing objects: 100% (3/3), 308 bytes | 102.00 KiB/s, done.
Total 3 (delta 0), reused 0 (delta 0), pack-reused 0
To github.com:kittycooldew/ansible_cluster.git
   5524665..62b9b0a  main -> main

References:

  1. Top 20 Git Commands With Examples
  2. Learn Linux TV Chapter 3