
For the NFS ISO Domain or NFS Data Domain, do ensure the followings
- Ensure the NFS File System is properly exported
- Ensure the user and group ownership is correct
Step 1: If you are exporting ISO on your NFS File Server. At your /etc/exports
/exports/ISO 192.168.1.0/255.255.255.0 (rw, async)
Export NFS and check mounting
# exportfs -av
# showmount -e
Step 2: Change Permission
The permission on the exported file system must be owned and writable by user vdsm and group kvm
# chown vdsm.kvm /exports/iso
# chmod g+s /exports/iso
Step 3: Check list of available ISO Domains. At RHEM
# rhevm-iso-uploder list
ISO Storage Domain Name   | Datacenter                | ISO Domain Status
dmn_ixora_iso_vol         | RH_Resource               | active
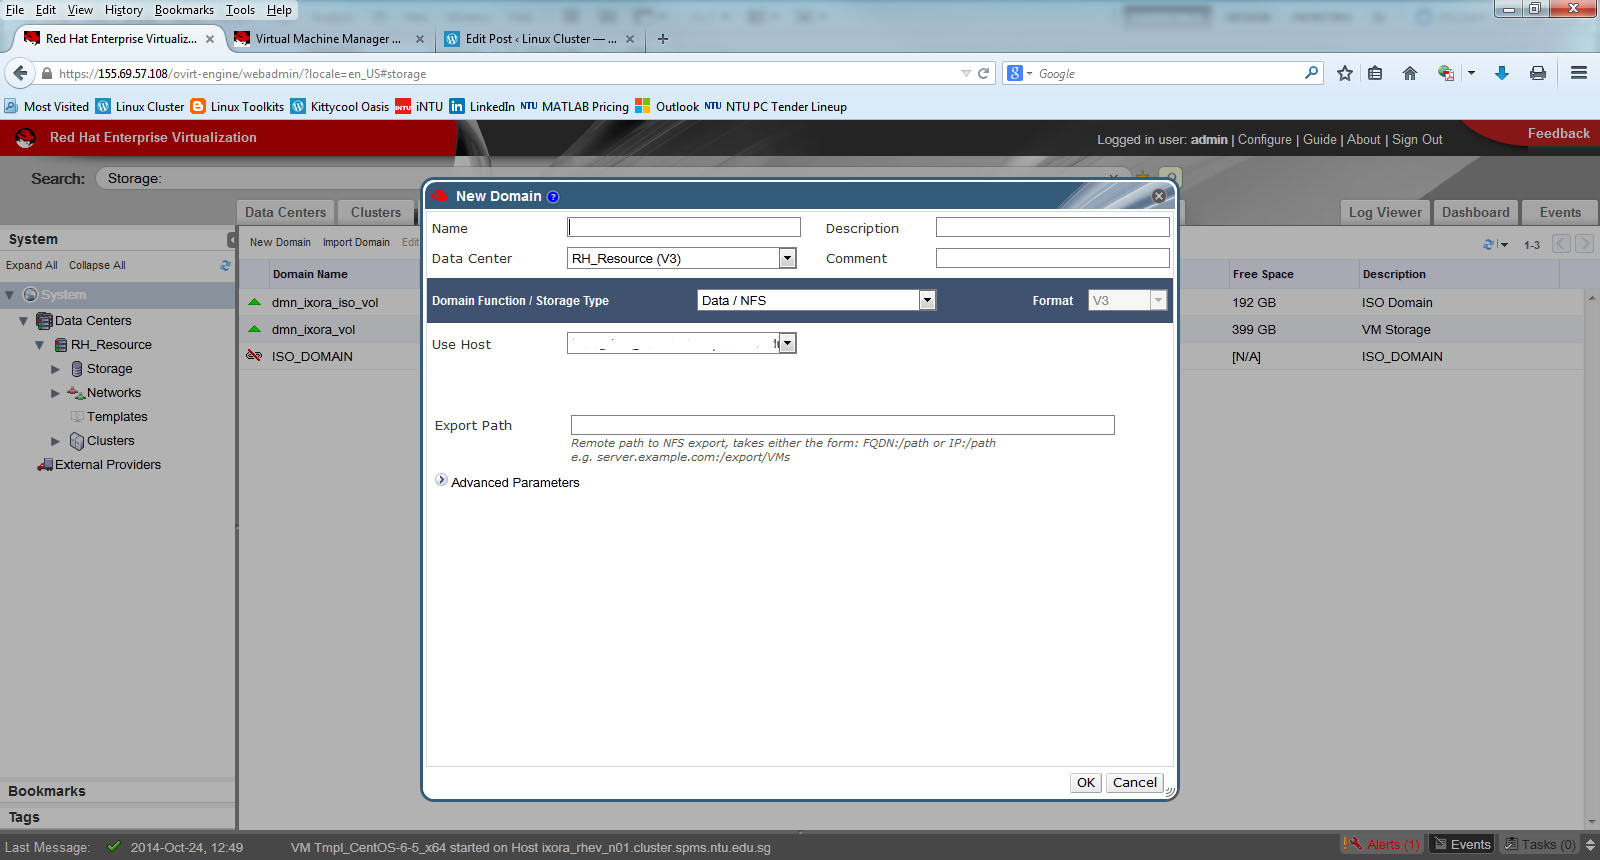
Step 4: Mount the ISO Domain using Red Hat Enterprise Manager (RHEM)
Step 5: Uploading ISO using command line. Upload the ISO files to the directory /…/uique-UUID/images/11111111-1111-1111-1111-111111111111
# cd /iso/f21673a0-376e-4381-8760-b681c824dd1a/images/11111111-1111-1111-1111-111111111111
Copy the linux or windows iso file into the above directory
# scp remote_server:/something-directory/rhel-6.5.iso .
Change Ownership back to vdsm.kvm
# chown vdsm.kvm rhel-6.5.iso
References:

Pingback: Installing and Configuring Red Hat Enterprise Virtualisation | Linux Cluster