After yum install xrdp and starting the service, I encountered the error during remote desktop to the Linux Box.
connecting to sesman ip 127.0.0.1 port 3350
sesman connect ok
sending login info to session manager, please wait...
xrdp_mm_process_login_reponse: login successful for display
started connecting
connecting to 127.0.0.1 5910
error - problem connecting
At the /var/log/xrdp-sesman.log
......
[20141118-23:53:40] [ERROR] X server for display 10 startup timeout
[20141118-23:53:40] [INFO ] starting xrdp-sessvc - xpid=2998 - wmpid=2997
[20141118-23:53:40] [ERROR] X server for display 10 startup timeout
[20141118-23:53:40] [ERROR] another Xserver is already active on display 10
[20141118-23:53:40] [DEBUG] aborting connection...
[20141118-23:53:40] [INFO ] ++ terminated session:  username root, display :10.0
.....
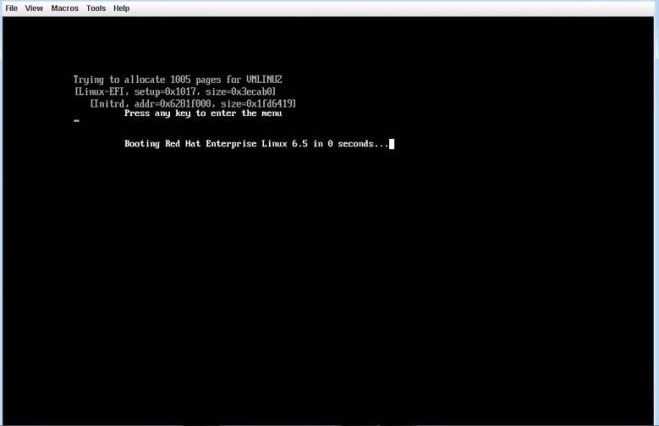
I was booting the RHEL 6.5 or CentOS 6.5 on a IBM PureFlex System and I have this error. This occurs when When installing Red Hat Enterprise Linux 6 from DVD media the installation will default to native Extensible Firmware Interface (EFI) mode boot. I do not have
According to IBM Website,
The workaround is simply to install the operating system in the traditional legacy mode, since there is generally no reason to install in other than Legacy mode. The workaround is only necessary if the media you are booting defaults to EFI mode (DVD or EFI Preboot eXecution Environment (PXE)) otherwise a legacy installation (e.g. – traditional PXE) is the default and is unaffected by this issue.
To force a legacy installation of the operating system from the EFI bootable DVD media the user should:
Press F12 key when the IBM splash screen is shown during system boot.
Select Legacy Only option and press Enter.
The operating system will boot and install in traditional legacy boot mode.
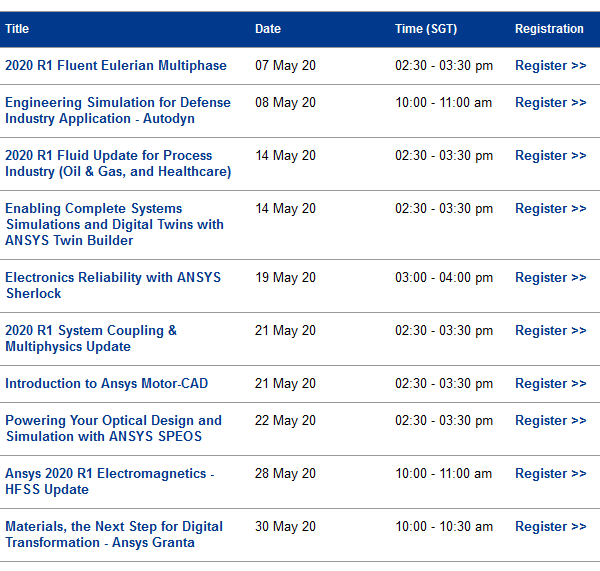
Join MemVerge, IDC, Intel, NetApp, and Penguin Computing in a webcast introducing a new category of IT that turns scarcity into abundance.
Tuesday, May 19th at 9:00 AM PST
This Webcast Introduces a New Wave of Computing: Big Memory Computing
Memory has been a wonderfully fast but scarce computing resource. This scarcity has resulted in major constraints that prevent applications from processing large amount of real-time data effectively.
These constraints are being removed by a new way of computing: Big Memory Computing. Today, the confluence of persistent memory and Big Memory software makes memory abundant, persistent and highly available. Together, they promise to make the IT world stop, think, and change the way applications are developed and deployed………
The limit depends on the total memory available on the server, which is calculated at boot time by the kernel as explained below:
/*
* Resource limit IDs
*
* ( Compatibility detail: there are architectures that have
* a different rlimit ID order in the 5-9 range and want
* to keep that order for binary compatibility. The reasons
* are historic and all new rlimits are identical across all
* arches. If an arch has such special order for some rlimits
* then it defines them prior including asm-generic/resource.h. )
*/

#define RLIMIT_CPU 0 /* CPU time in sec */
#define RLIMIT_FSIZE 1 /* Maximum filesize */
#define RLIMIT_DATA 2 /* max data size */
#define RLIMIT_STACK 3 /* max stack size */
#define RLIMIT_CORE 4 /* max core file size */

#ifndef RLIMIT_RSS
# define RLIMIT_RSS 5 /* max resident set size */
#endif

#ifndef RLIMIT_NPROC
# define RLIMIT_NPROC 6 /* max number of processes */
#endif

#ifndef RLIMIT_NOFILE
# define RLIMIT_NOFILE 7 /* max number of open files */
#endif

#ifndef RLIMIT_MEMLOCK
# define RLIMIT_MEMLOCK 8 /* max locked-in-memory address space */
#endif

#ifndef RLIMIT_AS
# define RLIMIT_AS 9 /* address space limit */
#endif

#define RLIMIT_LOCKS 10 /* maximum file locks held */
#define RLIMIT_SIGPENDING 11 /* max number of pending signals */
#define RLIMIT_MSGQUEUE 12 /* maximum bytes in POSIX mqueues */
#define RLIMIT_NICE 13 /* max nice prio allowed to raise to
0-39 for nice level 19 .. -20 */
#define RLIMIT_RTPRIO 14 /* maximum realtime priority */
#define RLIMIT_RTTIME 15 /* timeout for RT tasks in us */
#define RLIM_NLIMITS 16
8<---------- 8< ---------------- 8< ---------------- 8< --------
According to the article, For nproc, the limit is calculated in the kernel before the first process is forked in kernel/fork.c called by start_kernel:
>> init_task.signal->rlim[RLIMIT_NPROC].rlim_cur = max_threads/2;
>> init_task.signal->rlim[RLIMIT_NPROC].rlim_max = max_threads/2;

Below is the path to the function :

>> start_kernel
> fork_init(totalram_pages)
> if (max_threads < 20) max_threads = 20;
> init_task.signal->rlim[RLIMIT_NPROC].rlim_cur = max_threads/2;
> init_task.signal->rlim[RLIMIT_NPROC].rlim_max = max_threads/2;

>>>> RLIMIT_NPROC = max_threads/2

- The value of these variables are:

-> max_threads = mempages / (8 * THREAD_SIZE / PAGE_SIZE);
mempages comes from the function argument : fork_init(totalram_pages);
-> #define THREAD_ORDER 2
-> #define THREAD_SIZE (PAGE_SIZE << THREAD_ORDER)
-> PAGE_SIZE = 4096 (but useless)

- mempages is assigned in dmesg during the boot process, for example:

>> Memory: 36 989 916k/38797312k available (5516k kernel code, 1049156k absent, 758240k reserved, 6912k data, 1332k init)
mempages = 36989916k / PAGE_SIZE = 36989916k / 4096 = 9 247 479

- As an example:

RLIMIT_NPROC = (mempages / (8 * THREAD_SIZE / PAGE_SIZE)) / 2
= (mempages / (8 * (PAGE_SIZE << THREAD_ORDER) / PAGE_SIZE )) /2
= ( 9247479 / (8 * (4096 * 4) / 4096 )) / 2
= ( 9247479 / (8 * 4 )) /2
RLIMIT_NPROC = 14 4491.859375
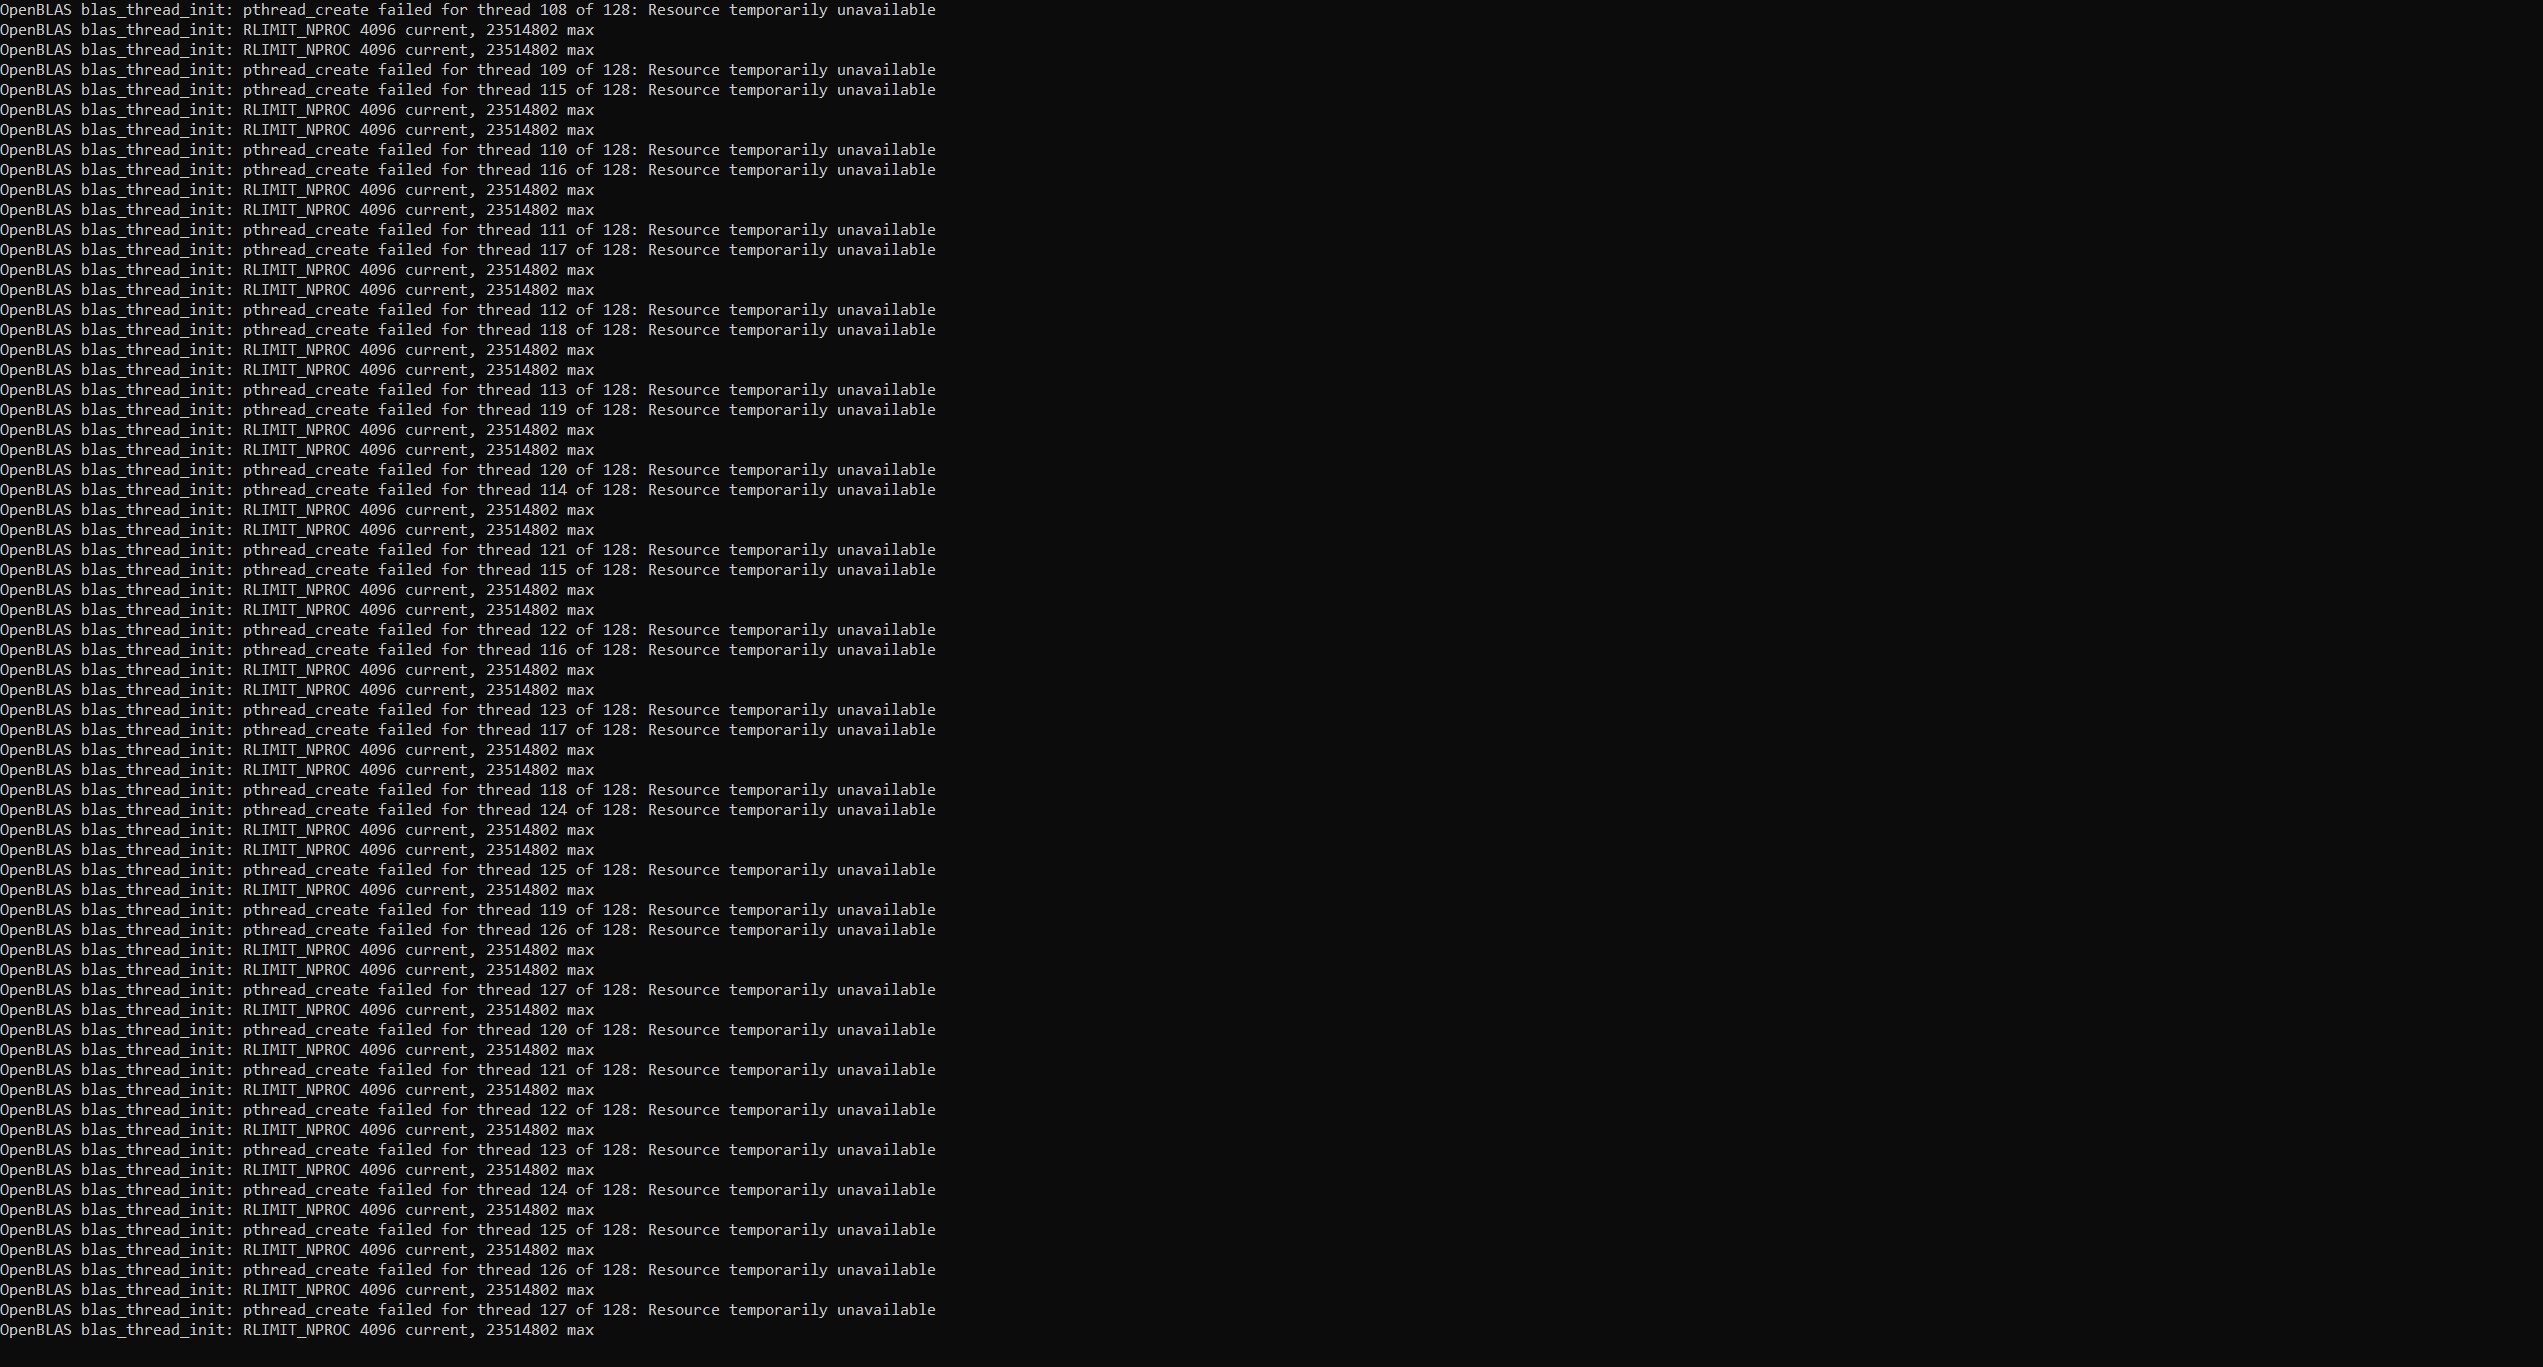
To look at the values of the hard limits using BASH, you can use the command
ulimit -hn
4096
To modify the limits, do proceed to /etc/security/limits.d/20-nproc.conf to change the number
# Default limit for number of user's processes to prevent
# accidental fork bombs.
# See rhbz #432903 for reasoning.

* soft nproc 4096
root soft nproc unlimited
Introduction: Sometime, you have a huge data sets to transfer and you may not want to hold an active connection all the time. One solution is to use OneDrive especially if you or your organisation has subscribed to Office 365. You should have 1TB of online space.
Step 3a: Authorize Microsoft to access your account
You need to authorize onedrive with Microsoft so it can access your account. First start by typing on the console
onedrive
Step 3b: You will be prompted to visit the URL to get permission
Step 4: Log in to your OneDrive account, and grant the app permission to access your account
Step 5: You will see a blank white page. Copy the URL and paste it into the Xterm
Step 6: Copy the URL and paste it into the Xterm “Enter the response uri”
Configuration
By default, all files are downloaded in ~/OneDrive and hidden files are skipped. If you want to change the defaults, you can copy and edit the included config file into your ~/.config/onedrive directory:
mkdir -p ~/.config/onedrive
cp /usr/local/onedrive/config ~/.config/onedrive/config
vim ~/.config/onedrive/config
Available options:
sync_dir: directory where the files will be synced
skip_file: any files or directories that match this pattern will be skipped during sync.
For example,
If I want to sync everything except Confidential and Personal Folders
# Directory where the files will be synced
sync_dir = "~/OneDrive/"
# Skip files and directories that match this pattern
skip_file = ".*|Confidential|Personal"
Note: after changing the sync list, you must perform a full synchronization by executing
onedrive --resync --synchronize
Step 7: Sync List
If you wish to do selective sync instead of the whole OneDrive Folder, you can create a file called sync list and put it in the “~/.config/onedrive” folder and add the relative path from the OneDrive to the folder you want to sync
% touch ~/.config/onedrive/sync_list
For example, when you place a g2o folder into ~/OneDrive and only one to sync this particular folder. Your sync_list should only contain
g2o
One Drive Service
If you want to sync your files automatically, enable and start the systemd service: