Displaying the Number of Cores and Current Load average for All Nodes

If you wish to use Ansible to display the number of cores and current Load average for all your nodes, you may want to consider the code below.

- name: Display number of cores
  debug:
    var: ansible_processor_cores

- name: Get Load Average
  ansible.builtin.shell: "cat /proc/loadavg"
  register: load_avg_output
  changed_when: false

- name: Print Load Average for all Nodes
  debug:
    msg: "Load Average: {{ load_avg_output.stdout }}"

Updating /etc/resolv.conf using Ansible for Rocky Linux 8

You may want to check the whether /etc/resolv.conf exists and if not exist, create the file file and update the DNS

- name: Check if resolv.conf file exists
  stat:
      path: /etc/resolv.conf
  register: file_info

- name: Create /etc/resolv.conf if it exists
  file:
     path: /etc/resolv.conf
     state: touch
  when: not file_info.stat.exists

- name: Set DNS nameservers in /etc/resolv.conf
  blockinfile:
      path: /etc/resolv.conf
      block: |
            search example.com
            nameserver x.x.x.x
            nameserver w.w.w.w
  when: ansible_distribution == "Rocky"

Enable PowerTools Repository Using Ansible

If you wish to use Ansible to fix Unable to Install hdf5, hdf5-devel and hdf5-static on Rocky Linux 8.7 by installing DNG-Plugin-Core, EPEL-Release for Rocky Linux, do take a look

 - name: Install DNF-Plugin-Core and EPEL-Release for Rocky
    dnf:
        name: 
           - dnf-plugins-core 
           - epel-release  
        state: latest      
    when: ansible_distribution == "Rocky"

  - name: Enable powertools repository
    command: dnf config-manager --set-enabled powertools
    when: ansible_distribution == "Rocky"
    changed_when: false

Installing and Configuring Chrony with Ansible on Rocky 8

If you are using Ansible to configure chrony which is a versatile implementation of the Network Time Protocol (NTP), you may want to take a look at the simple script below

- hosts: all
  tasks:

  - name: Install Chrony package
    dnf:
        name: chrony
        state: present
    when: ansible_distribution == "Rocky"

  - name: Configure Chrony servers
    lineinfile:
        path: /etc/chrony.conf
        line: "server sg.pool.ntp.org iburst"
        insertafter: '^#.*server 3.centos.pool.ntp.org iburst'
        state: present
    when: ansible_distribution == "Rocky"

  - name: Enable Chrony service
    service:
        name: chronyd
        state: started
        enabled: yes
    when: ansible_distribution == "Rocky"

You may want to consider Block Function to improve the code.

Further Read Up:

  1. Grouping Tasks with Block in Ansible

Unable to Install hdf5, hdf5-devel and hdf5-static on Rocky Linux 8.7

If you are doing a dnf install on hdf5 packages, you will notice errors like the one below

nothing provides libsz.so.2()(64bit) needed by hdf5-1.10.5-4.el8.x86_64
(try to add '--skip-broken' to skip uninstallable packages or '--nobest' to use not only best candidate packages)

To resolve the issue, you will need to install and enable PowerTools

Step 1: Install DNF plugins package

dnf install dnf-plugins-core

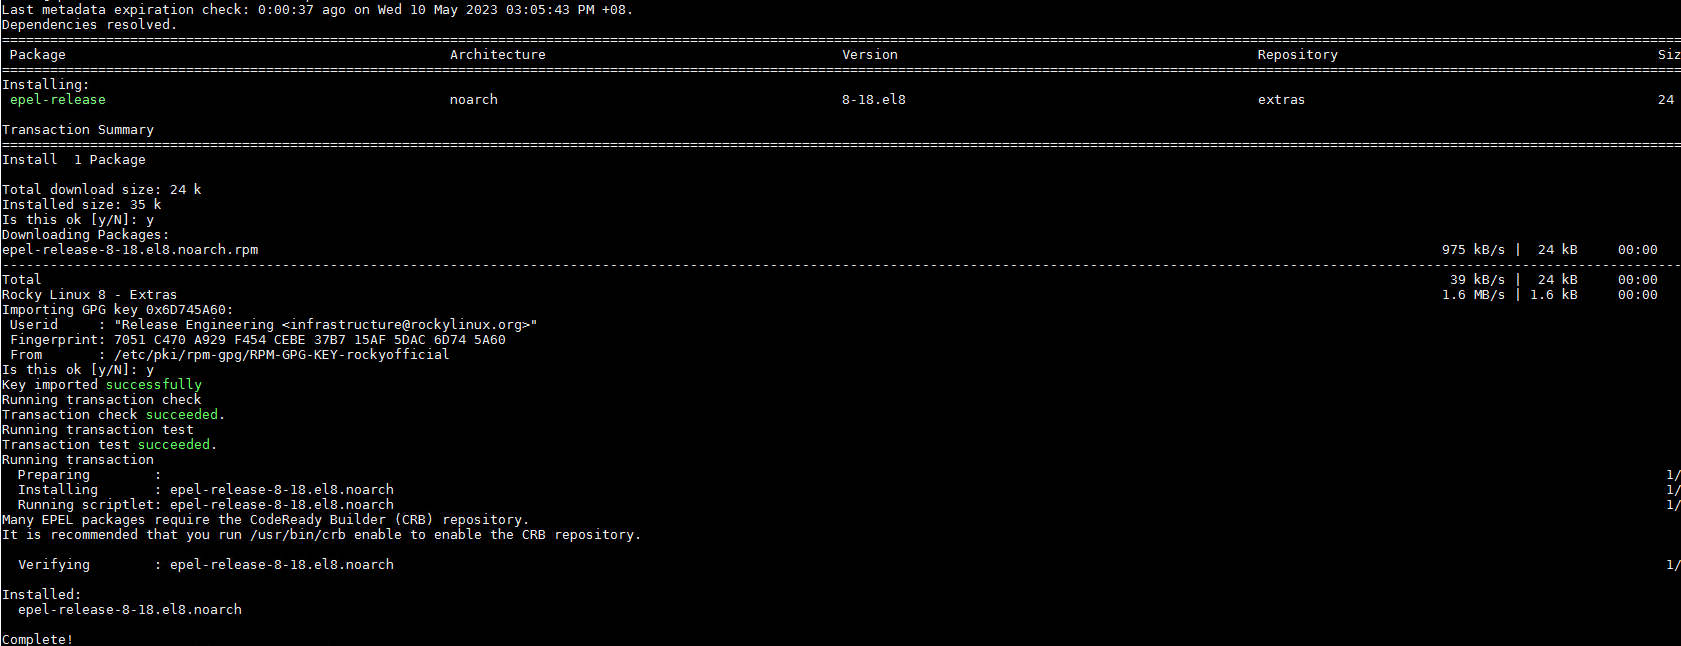
Step 2: Install EPEL

The reason is that some software from its source code requires some dependencies that are available in EPEL

dnf install epel-release

Step 3: Enable PowerTools repository on Rocky Linux 8

dnf config-manager --set-enabled powertools

Step 4: Now try installing HDF5

dnf install hdf5 hdf5-devel hdf5-static

Use Ansible to Check and Configure Timezone to you area

Support you are staying in Singapore and your time zone is “Asia/Singapore”. How do you check and configure the Timezone?

- hosts: all
  tasks:

  - name: Check current Timezone
    command: timedatectl show --property=Timezone --value
    register: timezone_output
    changed_when: false

  - name: Configure Timezone to Asia/Singapore
    command: timedatectl set-timezone Asia/Singapore
    when: timezone_output.stdout != "Asia/Singapore"

The command module is used to execute the timedatectl command and retrieve the current timezone and registered as timezone_output

The 2nd command is to configure the timedatectl if the timezone_output is not your desired “Asia/Singapore”

Starting Commands for Ansible

Number 1: Preparing Ansible.cfg

ansible.cfg is used to customize the behavior of Ansible and define various settings and options for managing infrastructure and deploying applications. Inside you ansible_cluster. Create an ansible.cfg

[defaults]
inventory = inventory
private_key_file = ~/.ssh/id_rsa
become = true
become_user = root

Number 2: To Test the Connection with Nodes via SSH

[root@h001 ansible_cluster]# ansible all -m ping
192.168.200.161 | SUCCESS => {
    "ansible_facts": {
        "discovered_interpreter_python": "/usr/libexec/platform-python"
    },
    "changed": false,
    "ping": "pong"
}
192.168.200.160 | SUCCESS => {
    "ansible_facts": {
        "discovered_interpreter_python": "/usr/libexec/platform-python"
    },
    "changed": false,
    "ping": "pong"
}
192.168.200.162 | SUCCESS => {
    "ansible_facts": {
        "discovered_interpreter_python": "/usr/libexec/platform-python"
    },
    "changed": false,
    "ping": "pong"
}
192.168.200.163 | SUCCESS => {
    "ansible_facts": {
        "discovered_interpreter_python": "/usr/libexec/platform-python"
    },
    "changed": false,
    "ping": "pong"
}

Number 3: Listing Hosts

[root@h001 ansible_cluster]# ansible all --list-hosts
  hosts (4):
    192.168.200.160
    192.168.200.161
    192.168.200.162
    192.168.200.163

Number 4: Gather Facts about Hosts

Lots of information regarding the hosts….. If you want to limit to a single hosts, use the parameter “–limit”

[root@h001 ansible_cluster]# ansible all -m gather_facts --limit 192.168.200.161
192.168.200.161 | SUCCESS => {
    "ansible_facts": {
        "ansible_all_ipv4_addresses": [
            "192.168.200.161"
        ],
        "ansible_all_ipv6_addresses": [
            "fe80::5eed:8cff:fe80:aee3"
        ],
        "ansible_apparmor": {
            "status": "disabled"
        },
        "ansible_architecture": "x86_64",
        "ansible_bios_date": "02/02/2023",
        "ansible_bios_vendor": "HPE",
        "ansible_bios_version": "U46",
        "ansible_board_asset_tag": "NA",
        "ansible_board_name": "ProLiant DL360 Gen10 Plus",
...
...
...

Number 4a: Gather Facts about Hosts Distribution

[root@h001 ansible_cluster]# ansible all -m gather_facts --limit 192.168.200.161 |grep distribution
        "ansible_distribution": "Rocky",
        "ansible_distribution_file_parsed": true,
        "ansible_distribution_file_path": "/etc/redhat-release",
        "ansible_distribution_file_variety": "RedHat",
        "ansible_distribution_major_version": "8",
        "ansible_distribution_release": "Green Obsidian",
        "ansible_distribution_version": "8.7",

References:

  1. Learn Linux TV Chapter 4
  2. Ansible Quickstart
  3. Ansible CLI cheatsheet

Git clone fatal: Could not read from remote repository.

If you have an error

git clone git@github.com:kittycooldew/ansible_cluster.git
fatal: Could not read from remote repository.

If you encounter an SSH authentication issue, do add your key to the SSH keychain:

ssh-add ~/.ssh/id_rsa

If you encounter an error such as this

Could not open a connection to your authentication agent.

Start the process and add key to SSH Keychain

eval `ssh-agent -s`
ssh-add ~/.ssh/id_rsa

Try the git clone again. It should work

References:

Could not load the Qt platform plugin “xcb” in “” even though it was found for Rocky Linux 8

If you encounter this issue

qt.qpa.plugin: Could not load the Qt platform plugin "xcb" in "" even though it was found.This application failed to start because no Qt platform plugin could be initialized. Reinstalling the application may fix this problem.

Available platform plugins are: xcb.

You can resolve the issue by installing the xcb package

# dnf install xcb*
Last metadata expiration check: 1:39:51 ago on Tue 09 May 2023 11:47:04 AM +08.
Package xcb-util-0.4.0-10.el8.x86_64 is already installed.
Dependencies resolved.
====================================================================================================================================================================================================================
 Package                                                   Architecture                                 Version                                               Repository                                       Size
====================================================================================================================================================================================================================
Installing:
 xcb-util-image                                            x86_64                                       0.4.0-9.el8                                           appstream                                        20 k
 xcb-util-keysyms                                          x86_64                                       0.4.0-7.el8                                           appstream                                        15 k
 xcb-util-renderutil                                       x86_64                                       0.3.9-10.el8                                          appstream                                        18 k
 xcb-util-wm                                               x86_64                                       0.4.1-12.el8                                          appstream                                        31 k

Transaction Summary
====================================================================================================================================================================================================================
Install  4 Packages

Total download size: 83 k
Installed size: 134 k
Is this ok [y/N]: y